
Top of the stairs versus bottom: choosing the right gate type
When a stair meets a child, placement and attachment matter. The U.S. Consumer Product Safety Commission says for the top of stairs use only gates that screw to the wall. That is the clearest safety benchmark for the riskiest location in the house. A gate that is simply pressure mounted at the top can shift or tip if a child leans or pushes against it. At the bottom of a stairway the fall risk is different, and a pressure gate is a common choice there, in doorways and in halls.
Beyond the basic top versus bottom rule, think about how the gate will be used day to day. A top-of-stairs gate will be opened and closed frequently and it must be fixed to a strong, immovable surface. Wall-mounted hardware achieves that. A pressure gate in a doorway or hallway is easier to move between rooms and can protect a lot of openings without hardware. For both locations choose a gate with a latch you can operate with one hand and that closes reliably.
You are in a rented or newly finished home, and you may not want screws in a hardwood newel post. There is a middle ground. The no-hole clamp approach attaches the gate to a wooden mounting strip that is held by clamps around the post. The gate screws into the strip, not the post. That keeps the newel intact. It also preserves the option to remove the gate and return the post to its original finish.
The problem with a banister post: why a screwed gate usually means drilling
A typical wall-mounted stair gate depends on a fastener driven into structural framing or a stud. When you face a finished newel post between stair and hall, the conventional solution is to anchor directly to the post. That normally requires drilling through the surface and into wood, then fastening the gate hardware with screws. For older homes or rental units that can be a deal breaker. You might not want to alter hardwood, or there may be aesthetic or lease restrictions.
Drilling a newel leaves holes that stay visible long after the gate is gone, and some finished posts are veneered rather than solid.
The no-hole clamp solution replaces drilling with clamping force and a removable wooden mounting strip. The gate hardware fastens to the strip. The post itself is not pierced, preserving the post surface. The clamps are designed to grip square or round posts within a specific range. Round adapters are included for turned posts. The system spreads load across the strip and clamps instead of relying on screw purchase inside the post.
How a clamp kit works: the components and the idea
A no-hole clamp kit gives you a way to attach a gate when drilling the newel post is not an option. The kit uses two square clamps with metal bolts that close around the post. The clamps hold a 36 inch wood strip. Your gate screws into that strip. The strip becomes the mounting surface and the post is never drilled. One kit is required for each post where a gate attaches.
The clamps are matched so they clamp at two heights. Typically the lower clamp sits near the floor and the upper clamp aligns with the gate's hinge or latch. The metal bolts let you tighten the clamps a little at a time to get a snug fit. A wood block goes into the back of each clamp front before it is fitted.
Round, turned posts are accepted. The kit includes round adapters to give the clamps a square bearing surface on curved posts. Interlocking shims come with the strip so you can make the strip vertical even when the post is not perfectly square to the stair. The strip is trimmed after the gate is mounted. That sequence keeps the finished look clean. Because the gate screws into the strip, the structural load is carried by the clamps and the strip, not by holes in your newel.
A hardware-mounted gate screws into the strip following its own instructions. If your gate is pressure-mounted, its wall cups go against the strip instead of the post. Clamp kits are sold per post, so plan on one kit for the side of the staircase where the gate hardware attaches.
Measuring the post: where to measure and what the kit fits
Before buying a clamp kit you should measure the newel post carefully. Measure across the post at the heights where the clamps will sit. If the post is round, measure at the widest point. Take a measurement at both the intended lower clamp and the upper clamp. Posts can taper or have decorative turning. Two measurements will catch any differences so you can be confident the clamps will fit both places.
The kit is designed with a planned post width range of 2 3/4 to 3 1/2 inches. The clamps themselves reach up to 3 5/8 inches. That means a post up to 3 1/2 inches falls squarely in the intended range. A post slightly wider than 3 1/2 but not exceeding 3 5/8 can still be gripped by the clamps, though the fit is beyond the kit's planned design. Posts wider than 3 5/8 inches exceed the clamp reach and are not compatible.
Round posts need the widest-point measurement because the clamp must clear the curve. Square or rectangular posts use face-to-face measurement. A post narrower than 2 3/4 inches is below what the clamps grip. Round adapters included with the kit help clamp turned newel posts by creating a square contact surface.
| Post width | What to do |
|---|---|
| Less than 2 3/4 in | Post is narrower than the kit's planned range. Look for a different mounting method. |
| 2 3/4 to 3 1/2 in | Fits the kit as planned. Measure both clamp heights to confirm. |
| 3 1/2 to 3 5/8 in | Clamps reach this width, but it is at the upper limit. Check both clamp positions for clearance. |
| Greater than 3 5/8 in | Exceeds clamp reach. Kit will not fit this post. Look for other mounting options. |
A turned post can be wider at one clamp height than at the other, which is why each clamp gets its own measurement before you order.
Installing it: step by step without drilling the post
Install the kit with patience and small adjustments. Start by placing the wood blocks inside each clamp face. Position the lower clamp near the floor so the strip will run vertically beside the stair. Put the upper clamp where your gate hinge or latch will sit. Set the clamps loosely at first. Then tighten the metal bolts a little at a time, alternating from side to side so pressure is even.
If the post is round use the included round adapters between the post and clamp face. That gives the clamp a flat surface to bear against. Interlocking shims go between the strip and the clamps. Use them to make the strip plumb. Adjust until the strip is vertical. Check the strip with a level if you have one. Getting the strip vertical matters because the gate must open and latch squarely.
Once the strip is secure, mark the gate screw locations on the strip. Drill 5/32-inch pilot holes through the strip and partly into the clamps, about 1 1/4 inches deep, and fasten the strip with the 1 1/2-inch screws and finish washers, or the 1 3/4-inch screws where you used shims. The gate hardware then screws into the pilot holes. The gate is now attached to the strip, never to the post. Test the gate for smooth operation and for any movement at the clamps. Tighten the clamp bolts incrementally until the assembly is snug. Avoid overtightening that could distort the clamp faces or press too hard on the finish.
Trim the strip after the gate is installed so the exposed end is the final length you want. When you remove the gate later the post will show no drilled holes. That preserves the look of a rented or new home while providing a secure attachment point for the gate hardware.
Pressure gates in doorways and halls: pads and floor protection
Pressure gates remain a good choice for doorways, hall openings and the bottom of stairs. They are easy to move and require no permanent hardware. The common drawback is contact damage to walls, baseboards and door casings. The right accessories solve that without drilling.
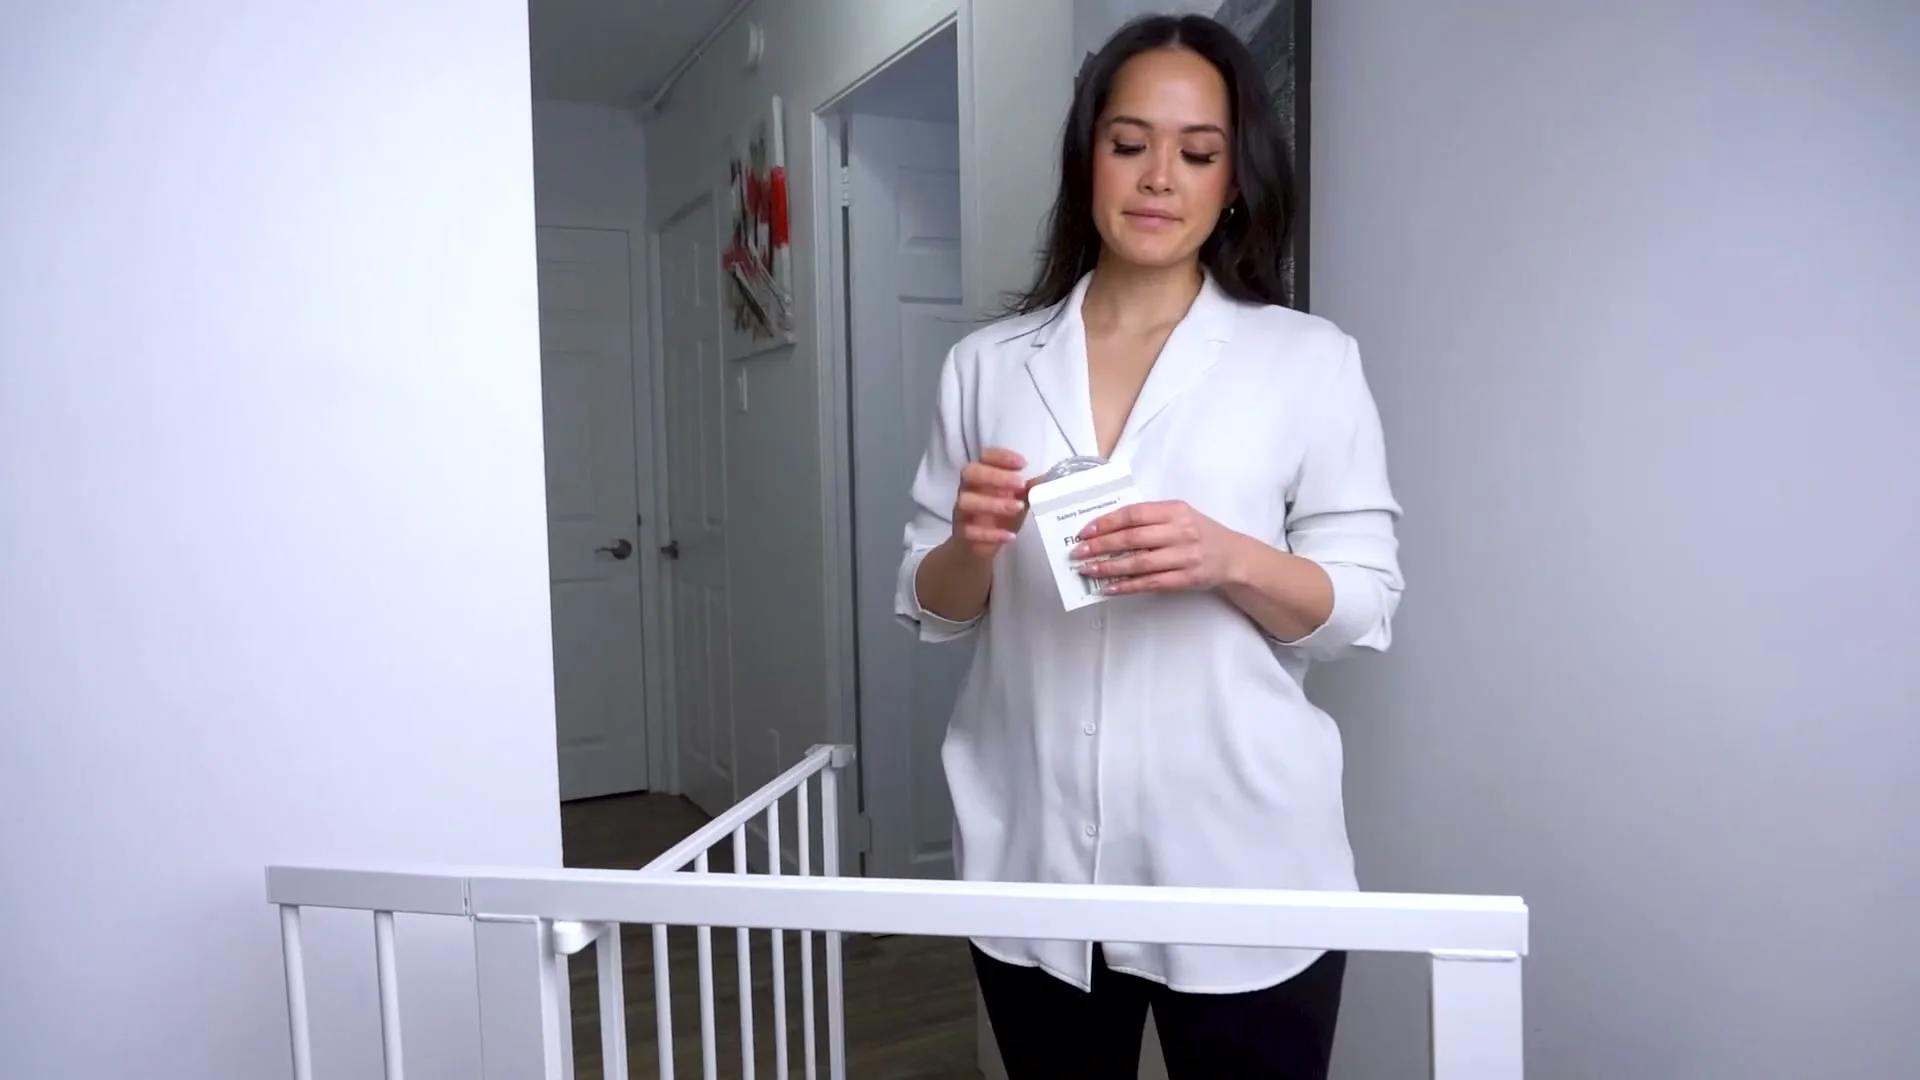
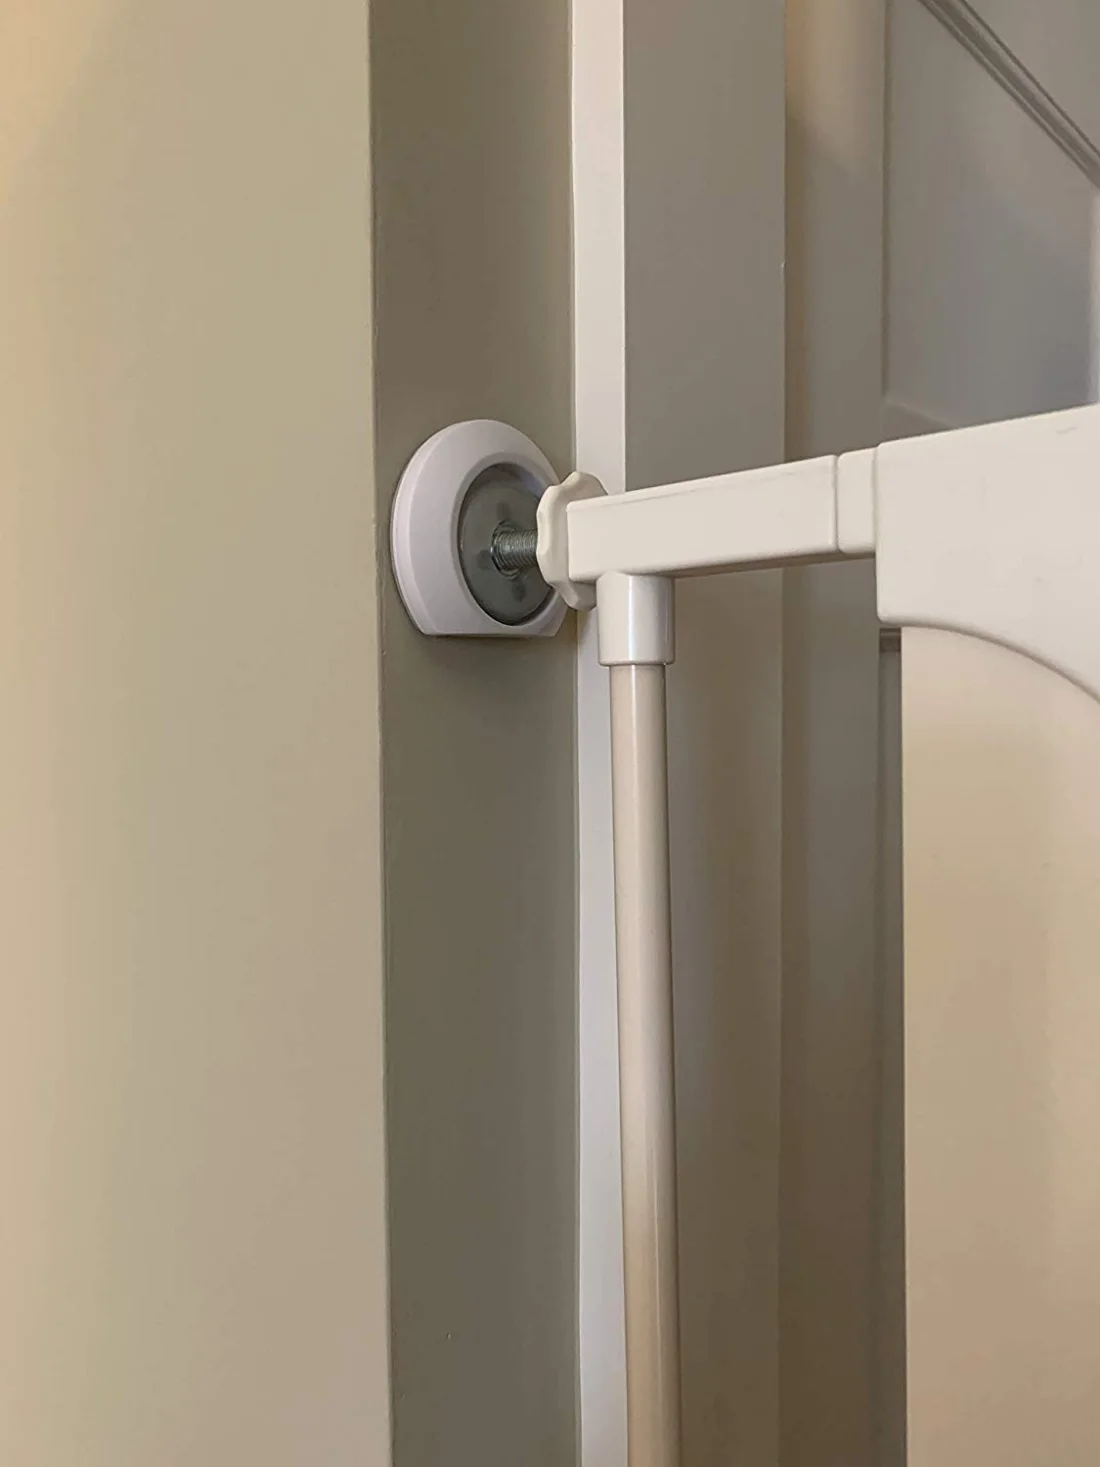
Wall Saver pads are oversized cushioned pads made for a top-of-gate pressure surface. They sit against the wall and spread the load. The pads go on without screws or adhesive. For gates that press against a baseboard the Mini Flat Bottom Wall Saver pads are shaped with a flat bottom edge that sits on the baseboard. That keeps the gate low at the floor line and prevents the gate from riding up when it is pressed.
For stand-alone gates or wide openings where the gate foot sits on the floor the Floor Saver is a clear silicone strip that runs under the door area. It is 23 3/4 inches long and protects hardwood and laminate where the gate contacts the floor. The strip reduces scuffing and keeps the gate from digging into the finish when it is used frequently.
When you choose a pressure gate and pads inspect the surfaces you are protecting. Clean the wall or baseboard before installing any pads so there is no grit under the cushion. Adjust the gate so it closes squarely and the latch engages without forcing. Test the assembly by pushing on the gate and by opening and closing it many times. Accessories like Wall Saver pads, Mini Flat Bottom pads, and the Floor Saver strip do not change the basic recommendation for top-of-stairs attachments, but they do make pressure gates practical and less damaging for everyday use in doorways and halls.
The stairway kit, the Wall Savers and the Floor Saver belong to the Safety Innovations team.
